
Feature / Effects & Color
Effects & Color
Explore new palettes, shape light and shadow, and add texture with Solstice's illustration filters and extended Lens Blur.
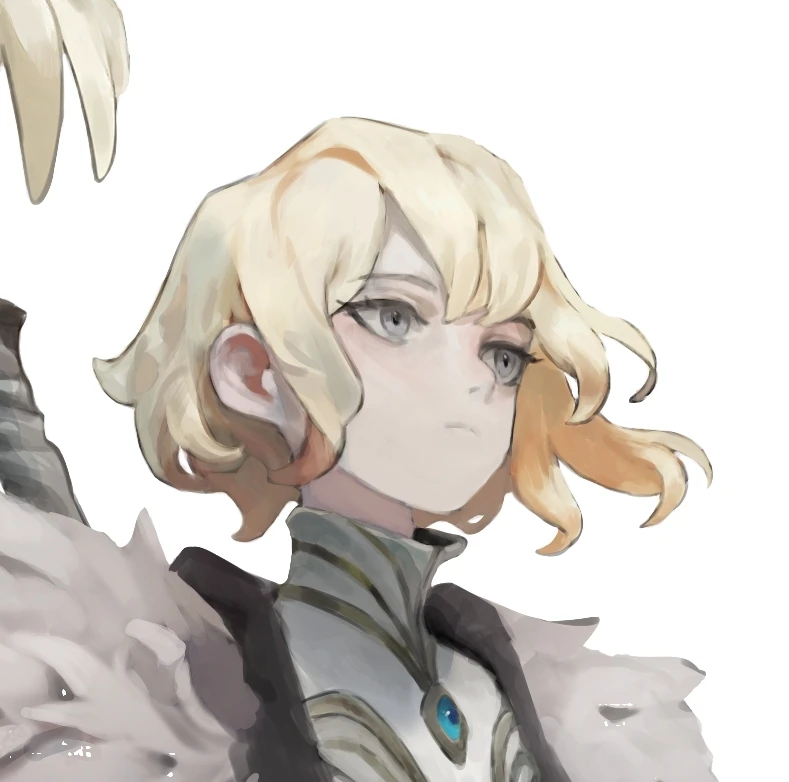
One illustration, many directions
Use a subtle finish or try a different visual treatment. These screenshots show the filters in the application, including the controls used to tune them. Open an image to inspect it at full size.
Select a paint layer, open a filter from the menu shown below, and adjust its preview. Use a selection to work on part of the image, or a filter mask to keep the effect editable.
Color & atmosphere
Try another palette or build a new mood without repainting the illustration.

Color Filter
Start with a Look such as Vivid, Warm, Cool or Sepia, then adjust brightness, contrast, hue, saturation, temperature, tint and sharpness. Amount blends the Look with the original; the Adjust controls remain active independently.
Settings and scope ↗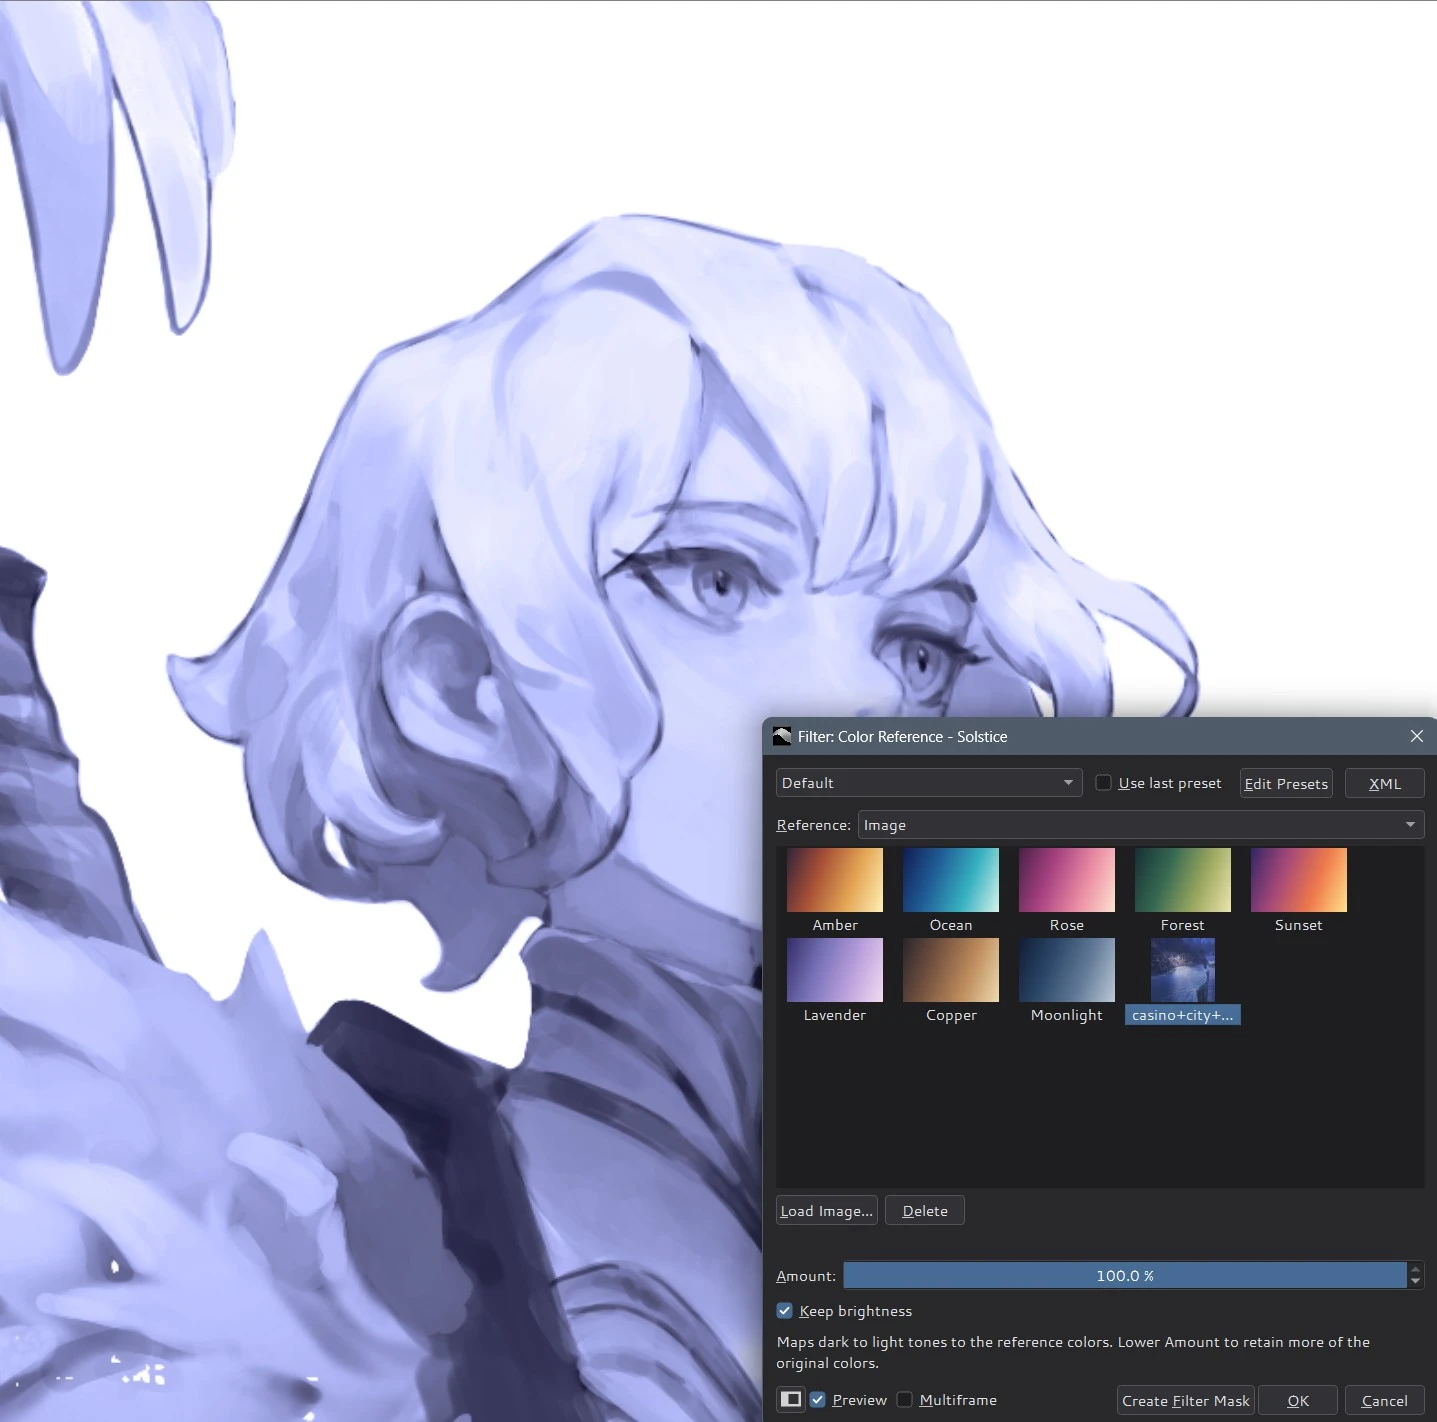
Color Reference
Map dark-to-light tones to colors from an image or a gradient. Load your own reference, or drag one or several image files onto the Image thumbnail area. Choose Gradient to use and edit a gradient instead.
Lower Amount to retain more of the original colors. Keep brightness preserves the original tonal structure; turn it off to follow the reference brightness too. At full Amount, different hues with the same brightness can converge to one color. Saved filter masks and layers retain their applied colors even if the reference is later removed.
Settings and scope ↗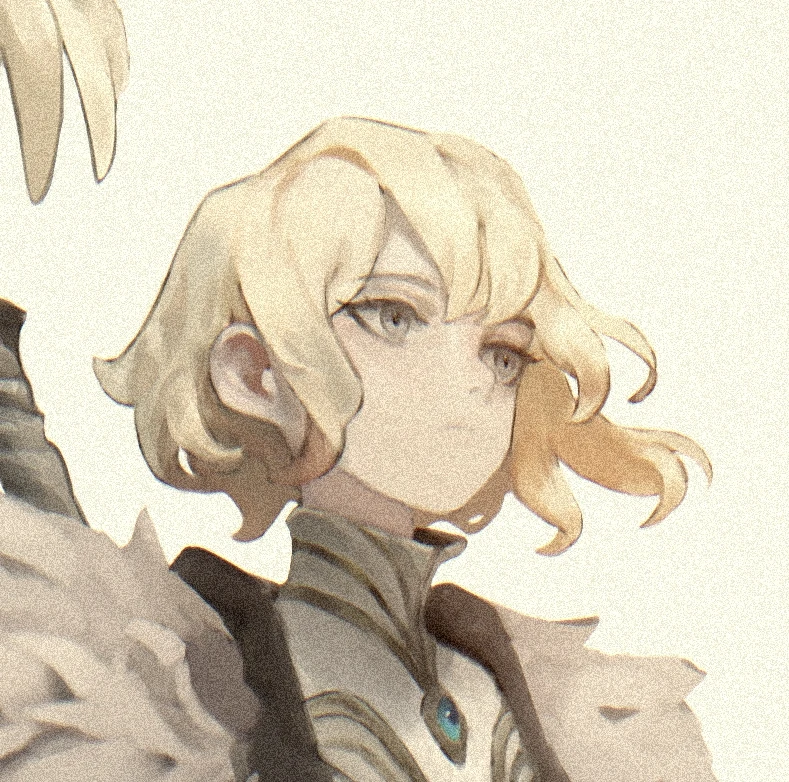
Film
Combine color treatment, chromatic aberration, grain and a warm light leak in one effect. Vintage, Modern and Warm are starting looks; tune each component to suit the drawing.
Settings and scope ↗Light, shadow & detail
Guide attention with soft light, depth and clearer edges.
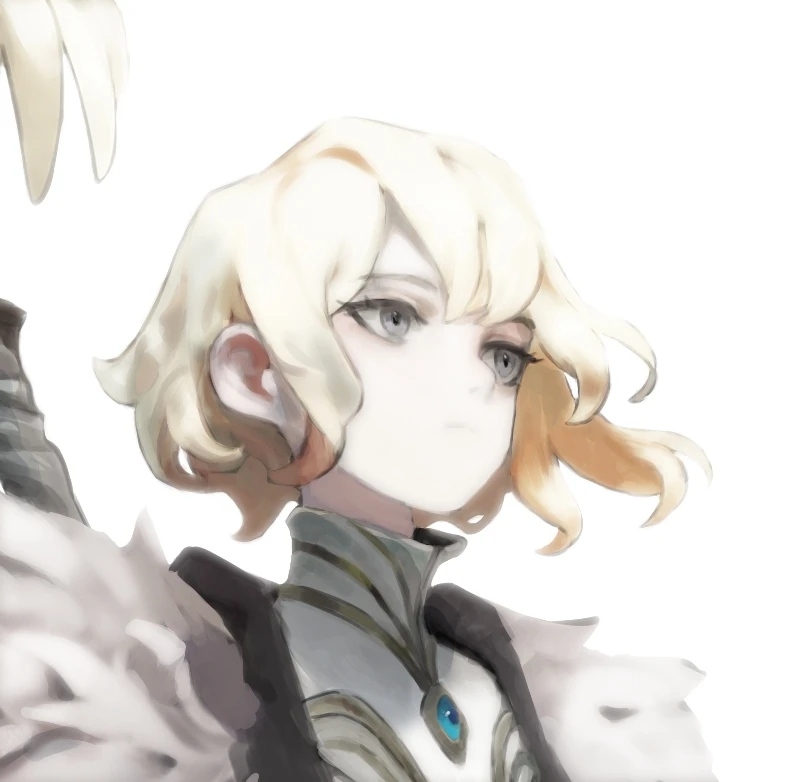
Glow
Soften and brighten highlights with Strength, Effect area and Blur range. Glow spreads light within the painted silhouette while preserving transparency; it does not create an outer glow.
Settings and scope ↗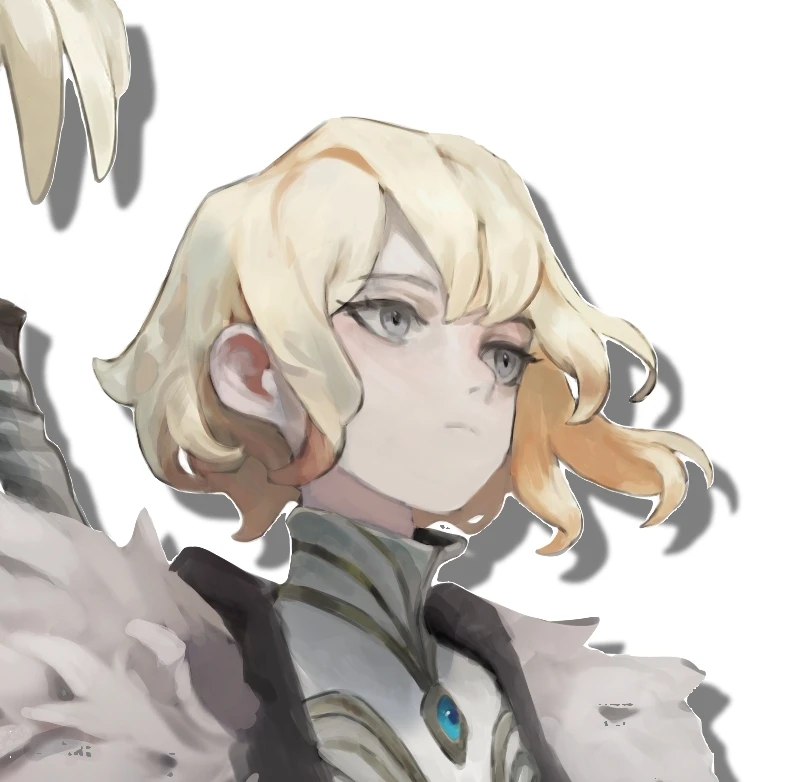
Drop Shadow
Place a shadow beneath a layer with transparency. Set its color, opacity, angle, distance and blur. Use a filter mask to keep the settings editable. An opaque background hides the shadow, so start with the subject on its own layer.
Settings and scope ↗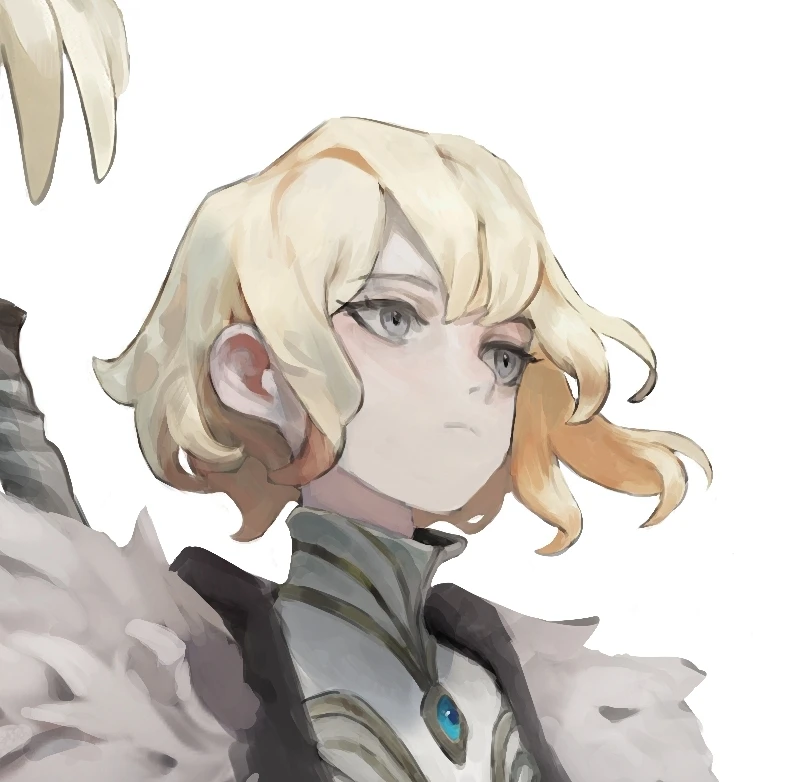
Sharpness
Strengthen fine brightness detail with one Strength control while limiting halos at hard edges. Use the existing Unsharp Mask when you need to choose a radius.
Settings and scope ↗
Lens Blur
The existing Lens Blur gains Roundness and Highlight enhancement. Roundness moves the aperture from a polygon toward a circle; enhancement makes small bright areas more prominent. Both default to zero to preserve older settings.
Settings and scope ↗Texture & drawn effects
Change the surface of an image, or prepare a drawing for its next stage.
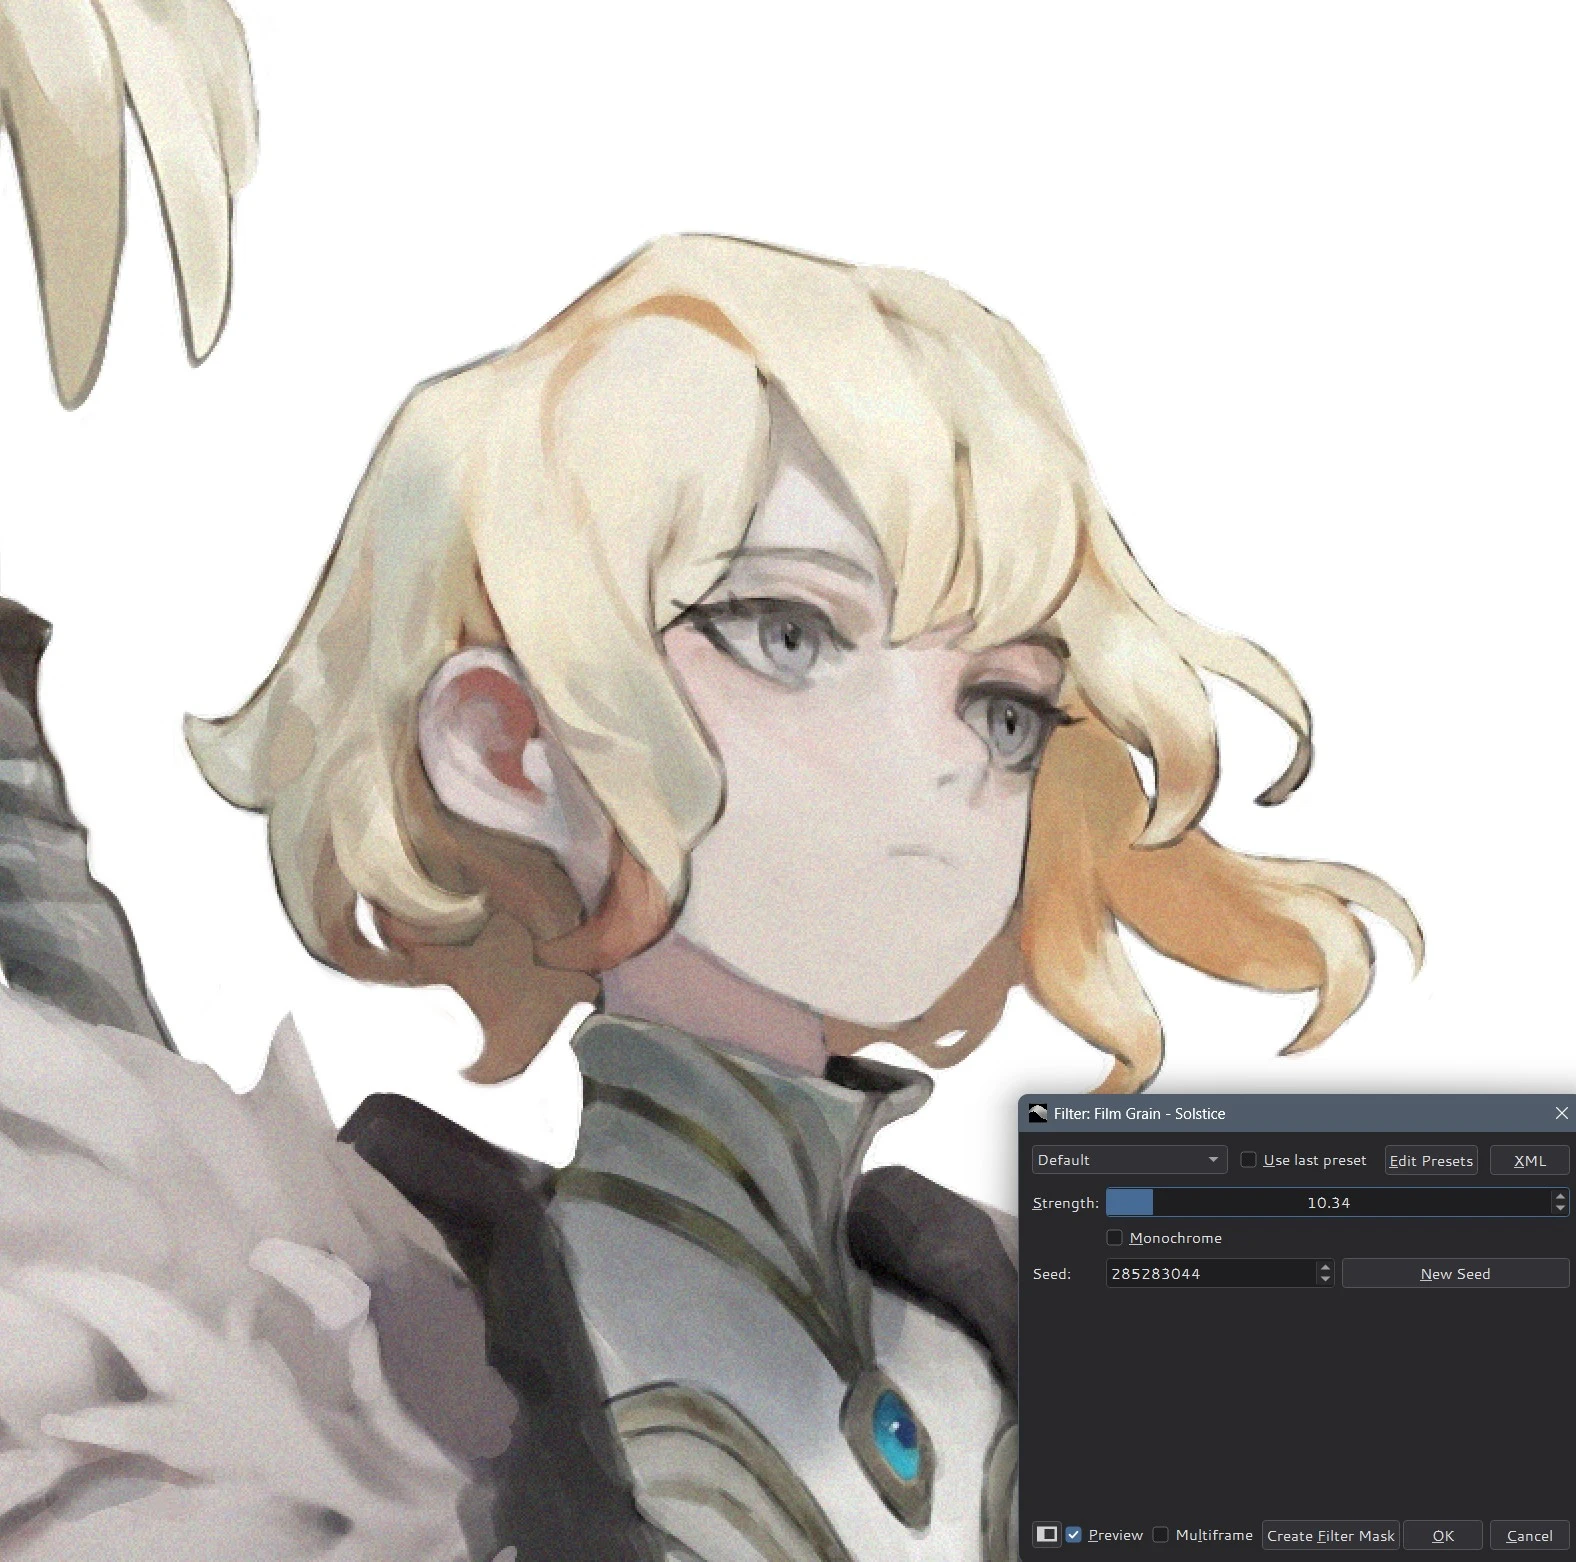
Film Grain
Add a repeatable grain pattern with monochrome or independent color noise. Strength controls the amount; zero leaves the image unchanged. Keep the Seed to reproduce the pattern, or choose New Seed for another variation. Filter masks and layers keep the settings editable.
Settings and scope ↗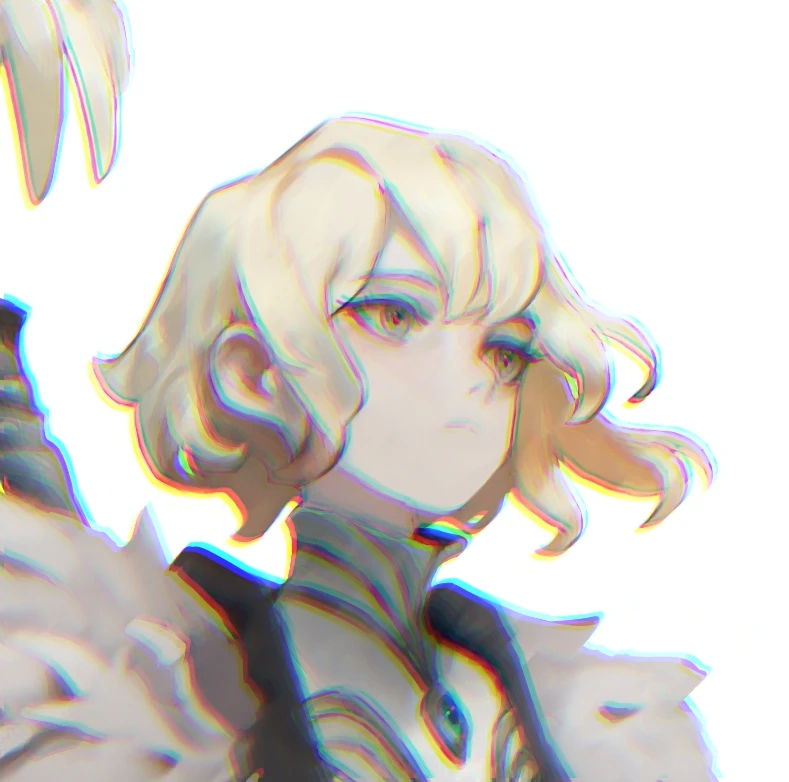
Chromatic Aberration
Offset the red and blue channels in opposite directions. Translation gives a constant shift; Radial increases the shift away from a chosen center. The original silhouette and opacity stay intact.
Settings and scope ↗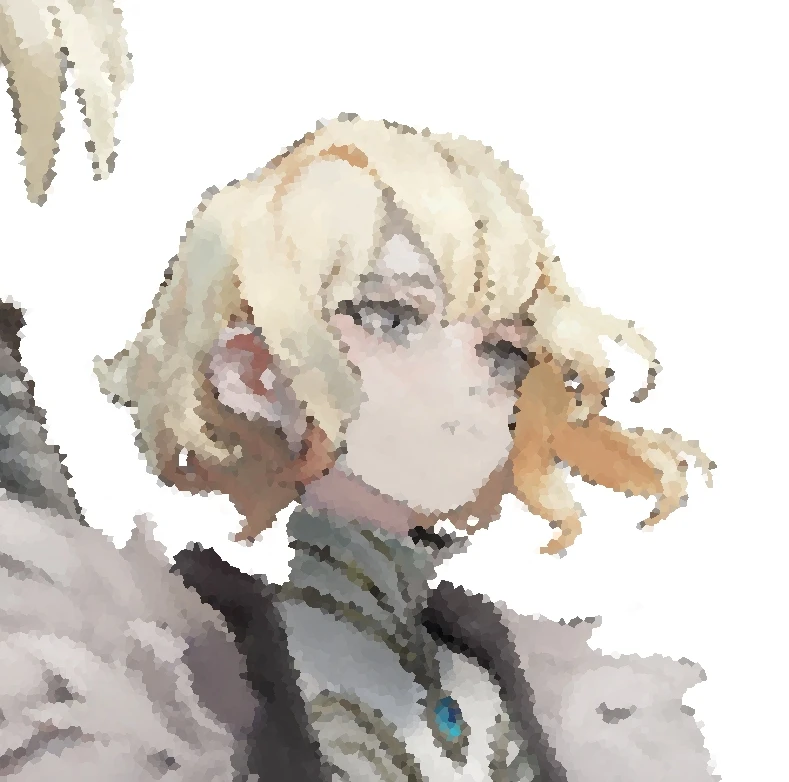
Crystal
Turn an image into polygonal color cells. Adjust cell size and irregularity, and keep the seed to reproduce a pattern. Seamless tiling wraps the cells across saved tile bounds for texture work.
Settings and scope ↗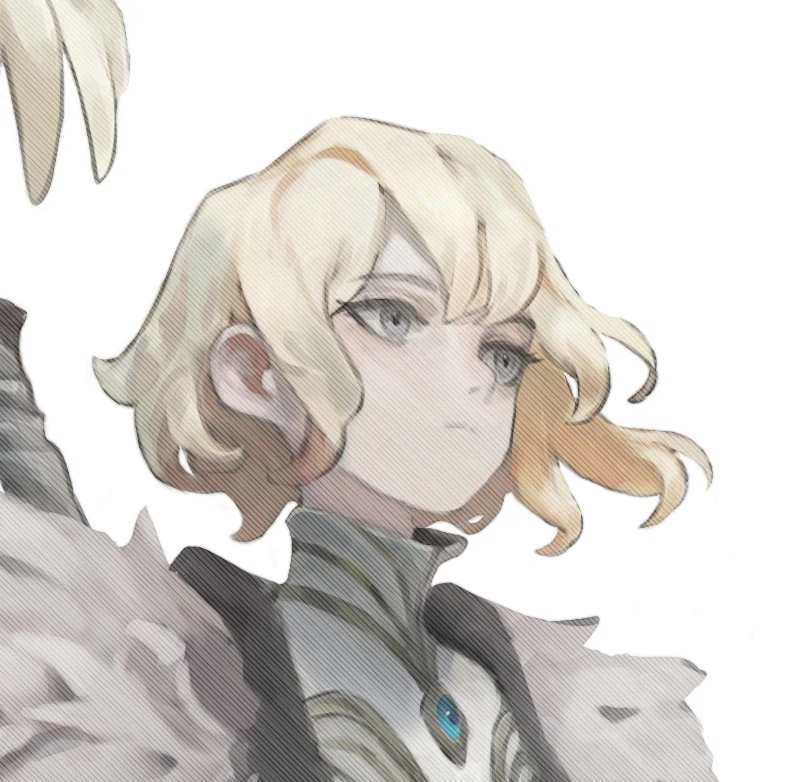
Pencil
Strengthen outlines and add hatching based on image darkness. Tune stroke size, roughness and direction, with optional grayscale output. This is a drawn effect on the image, not a separate transparent line-art extraction.
Settings and scope ↗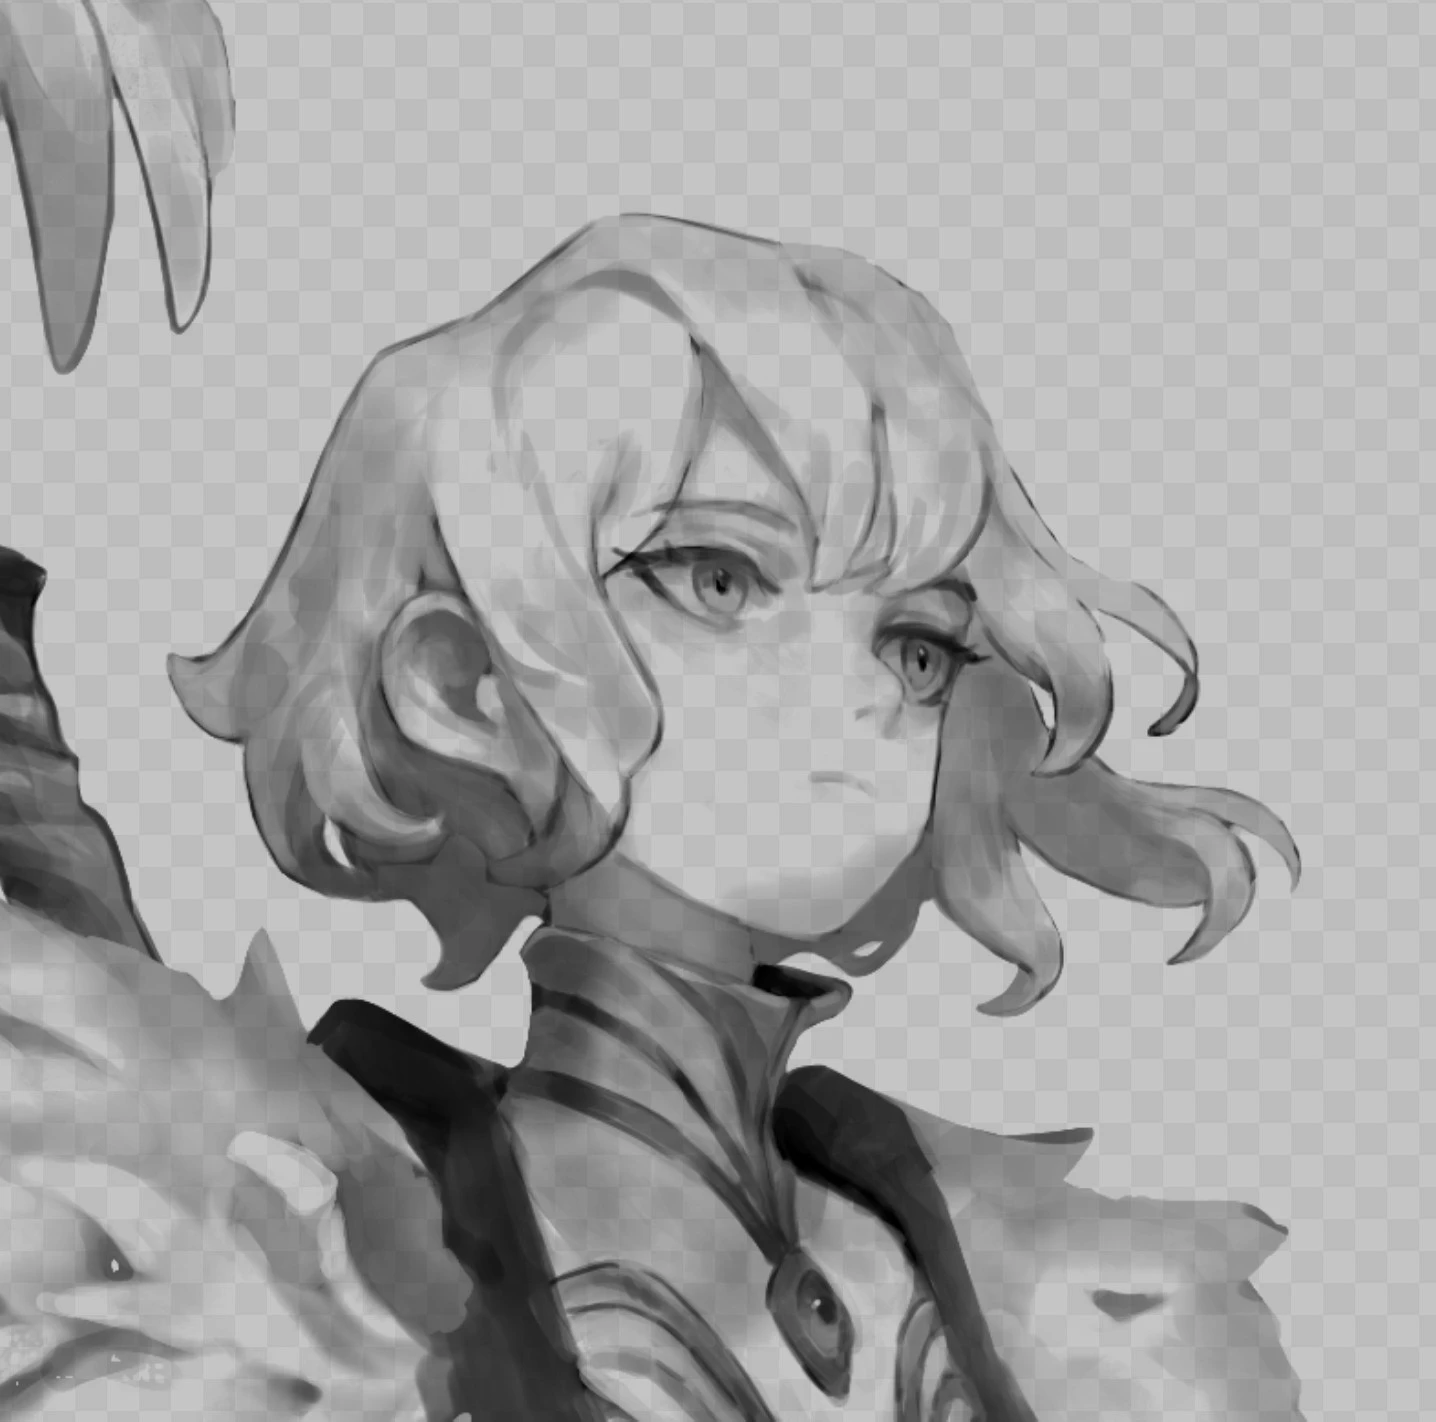
Line Art Extraction
Separate dark pencil or ink marks from light paper into lines on a transparent background. Adjust Density and Paper correction radius, then choose black lines or the original line colors. Keep alpha enabled to remove the paper.
Best for dark marks on light paper. Very dark paper, strong shadows and broad shaded areas may remain. Use a filter mask to keep the original scan editable.
Settings and scope ↗Also in the toolbox
G'MIC-Qt is available as a separate filter dialog for further effects.
Working with effects
These effects run on the CPU. Preview time depends on image size and the settings, especially large blur radii. Filter masks and filter layers retain editable settings; color-model support and transparency behavior vary by filter. See the full guide for details.